
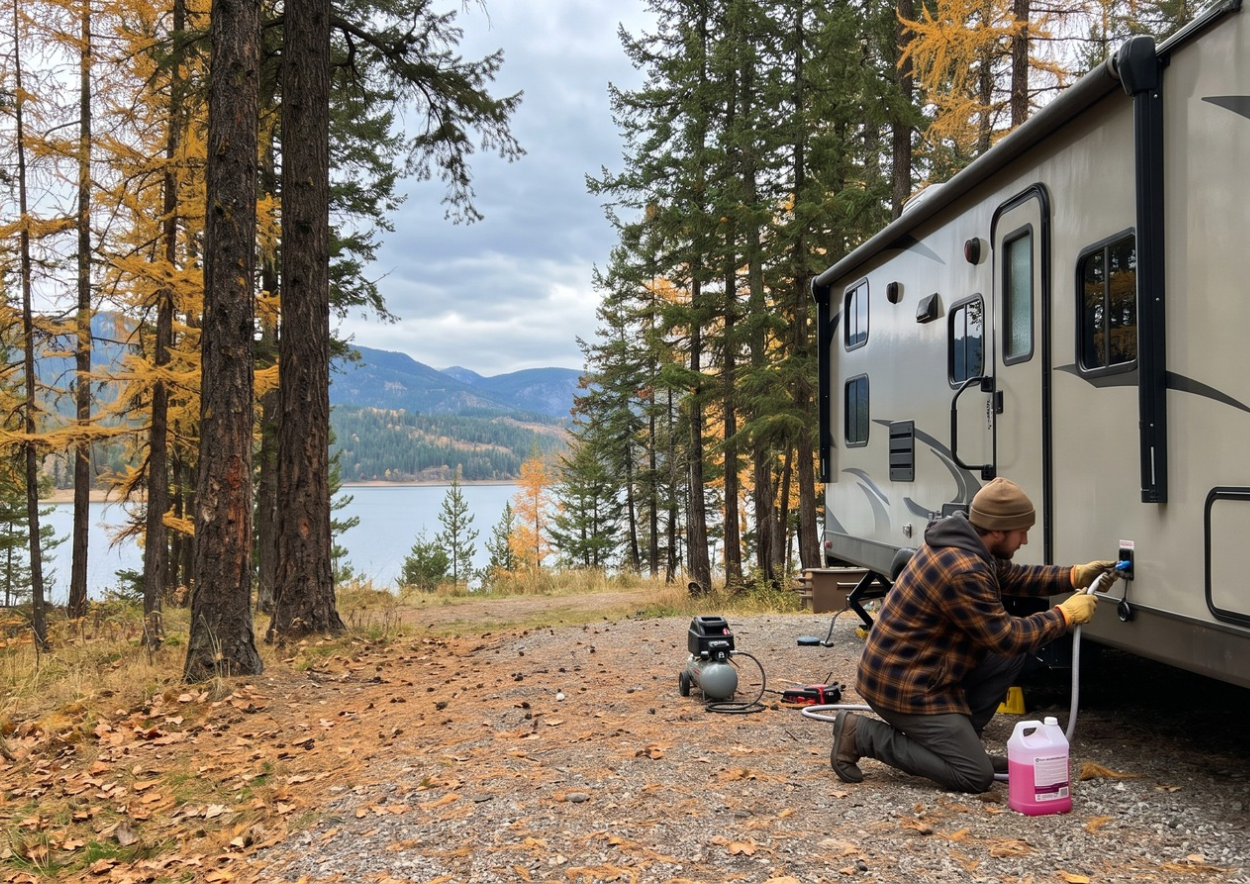
As late autumn sets in across the East Kootenays, golden larch needles blanket the forest floor, and quiet mornings settle over the quiet shoreline of Lake Koocanusa. While our summer days at Newgate Sandy Shores Campground wrap up when the gates close at the end of September, the real test for any recreational vehicle begins when regional winter freezes arrive.
Interior British Columbia winters bring prolonged sub-zero snaps and heavy snow loads. Taking the time to properly tuck your trailer in safeguards your investment against burst pipes, pest damage, and roof leaks—ensuring your rig is ready for campfire season the moment warm weather returns in mid-May. Follow this complete RV winterization checklist to keep your camper secure throughout the cold off-season.
1. Winterize Your RV Plumbing: The Freeze Defense
Frozen water lines are the single most common and costly winter repair for seasonal trailers. Even a teaspoon of trapped water can expand, splitting PEX fittings, water heater tanks, and toilet valves.
Drain the Holding Tanks: Empty your fresh water, grey, and black holding tanks completely. Give the black tank a thorough flush with an integrated rinser or wand before shutting the dump valves.
Bypass and Drain the Water Heater: Never pump antifreeze into your water heater tank. Switch the bypass valves behind the unit, open the pressure relief valve, and pull the exterior anode rod or drain plug to empty the tank fully.
Air Blowout & RV Antifreeze: Connect a blowout plug to your city water inlet and blow out lines with an oil-free air compressor set strictly below 30 PSI. Follow up by using your water pump winterizing kit to draw non-toxic, pink RV antifreeze through every line. Run each fixture—kitchen sink, bathroom tap, indoor shower, exterior wash station, and toilet valve—until the fluid flows bright pink.
Protect the Traps: Pour at least one cup of antifreeze down each sink drain P-trap, the shower drain, and into the toilet bowl to keep rubber seals lubricated and prevent cracking.
2. Rodent Defense & Interior Moisture Control
Lakeside campers parked near forested shores are prime winter targets for mice, chipmunks, and packrats seeking warm shelter. Sealing your perimeter is essential before leaving your trailer unattended for months.
Clear Every Scent: Remove all food, spices, condiments, dry pantry goods, and pet food. Do not overlook scented toiletries—shampoos, bar soaps, deodorants, and scented candles attract rodents just as quickly as food.
Inspect the Underbelly: Crawl beneath the rig and inspect points where wiring harnesses, gas lines, and plumbing penetrate the floor. Pack gaps with coarse stainless steel wool or copper mesh, then seal them with pest-blocking expanding spray foam.
Defend Against Mold & Mildew: Winter air traps moisture inside sealed trailers. Place refillable moisture-absorbing tubs (like DampRid) in the living room and bathroom. Prop your refrigerator and freezer doors open with door clips or rolled towels to prevent stubborn interior mold.
3. Exterior, Roof, and Battery Care
Winterizing your camper trailer for cold weather means protecting exterior components from prolonged freeze-thaw cycles and heavy snow loads.
Battery Maintenance: Freezing temperatures will permanently ruin deep-cycle RV batteries if they lose charge. Disconnect your batteries, remove them from the trailer tongue or bay, and store them indoors in a cool, dry space connected to a smart trickle maintainer.
Slide-Outs & Seals: Store your trailer with all slide-outs pulled completely in to protect rubber gaskets, hydraulic mechanisms, and roof seals from standing snow. Treat external rubber weatherstripping with a silicone seal conditioner.
Roof Inspection: Walk your roof (or use a ladder) to inspect the Dicor lap sealant around skylights, vents, and front and rear termination bars. Reseal any small hairline cracks before winter rain and snow can seep into your ceiling rafters.
-
Because Newgate Sandy Shores operates seasonally from mid-May through the end of September, the best time to complete your winterization is during your final stay in late September before check-out. Prepping your plumbing and securing your site before the gates close for the season guarantees your rig stays protected against unexpected early Kootenay freezes.
-
While blowing out lines with low-pressure air removes standing water, tiny pockets of moisture can remain trapped in valve bodies, toilet modules, and P-traps. In sub-zero interior BC winters, pumping non-toxic RV antifreeze through the entire system after blowing it out is the safest defense against burst pipes.
-
Generally, no. Constant trickle charging from older RV converters can boil battery electrolyte over several months. The recommended practice is to fully charge your deep-cycle batteries, remove them, and store them indoors in a temperature-regulated space on a smart maintainer.
-
Clear out all food items, cooking oils, paper towels, and scented items (including soaps and candles). Seal exterior underbelly entry points with stainless steel mesh or heavy-duty foam, keep slide-outs pulled in, and place natural repellents like peppermint oil or cedar sachets inside cabinets and compartments.
Putting the work in during fall ensures smooth sailing when spring arrives. If you have questions about site access, summer bookings, or upcoming seasonal dates, stay in touch with the Newgate Sandy Shores team—we look forward to seeing everyone back on the sand in mid-May!